
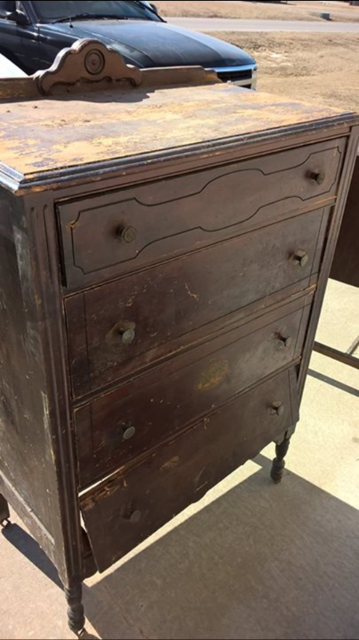
Here is my newest project! It is solid wood and has some major character so I was really excited to get started on this piece. It was in pretty rough shape – the old stain was peeling off, the bottom drawer was not actually a drawer and just a drawer face nailed on, and it only had 3 casters, all of which were just the metal frames and no wheels.
Since I was so excited, I forgot to take a good picture so, you’ll have to do with this:
Supplies Needed:
- Sander
- Stain (color(s) of you choice)
- New hardware (optional)
- New castors (optional)- the castors currently on this dresser were worn out. I didn’t have to order new ones but, I thought the castors were what gave this piece all the character so I went ahead and got some.
Let’s get started!
Step 1: Sand everything! If you don’t have an electric sander, I would recommend one. However, it’s not impossible to sand by hand, it may just take a little extra muscle and a few extra cuss words.


When I was sanding, I found these stamps on the back. I can’t make out the first set of numbers, although they look like date. The second set of numbers says $442. I guess that means the original price was $442? If you happen to know, please comment below!

Step 2: After it was all sanded, I saw a HUGE difference! I ordered 4 new casters from Amazon (link below) and put them on the dresser. This step was really easy. Since the dresser had casters previously,the inserts were already installed. However, the casters I ordered came with the inserts as well and they are easy to install. You just drill a hole in the bottom of the dresser leg, hammer in the insert and then the wheels will just snap in.


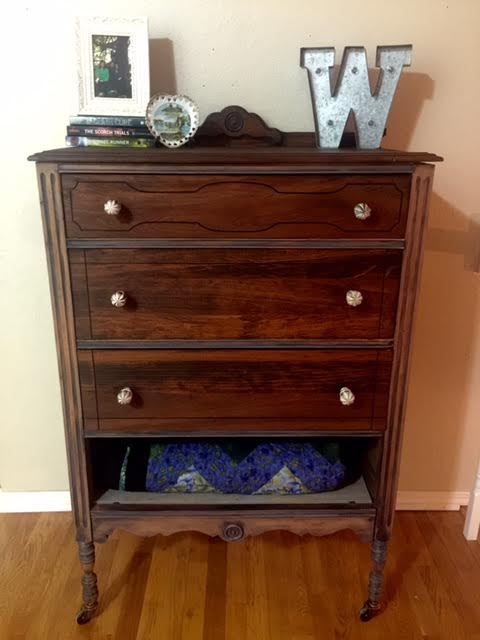
Step 3: Time to stain! Since this piece has great wood, I chose to stain it. I thought it would be a waste to paint something as pretty as this. I wanted to keep this as a classic look but, also add a modern touch so I decided to use two colors of stain to jazz it up. I used Minwax Honey and Classic Grey. I used gray for the dresser frame and the honey for the drawer fronts, top, and sides of dresser.


Step 4: I chose just to remove the faux drawer and make it a shelf. I went Lowe’s and got a pine board and had them cut it to size. I stained the drawer insert with the Classic Gray. However, on the pine, it almost looked blue- but I still liked it! Plus, I know I would be putting blankets on that shelf so it wasn’t a big deal.
Step 5. I finished up by adding some new drawer pulls from Hobby Lobby.


Thanks for reading!

If you liked this post, please subscribe to my blog to receive an email with each post. To subscribe, scroll to the bottom of the page and put in your email. You can also follow me at @diyhomeowner on Instagram.

Recent Comments