
When it comes to picking paint color, I consult Pinterest, and then I go directly to the store and buy the paint. Yes, it is more responsible and less risky to first buy paint samples and test them out but, when I’m ready to do something, I’m ready to do it now and don’t want to overthink it – at least when it comes to DIY projects…in all other facets of life I’m pretty much a “think-ahead”, “little spontaneity”, “no surprises” kind of gal. So, here was the inspiration:
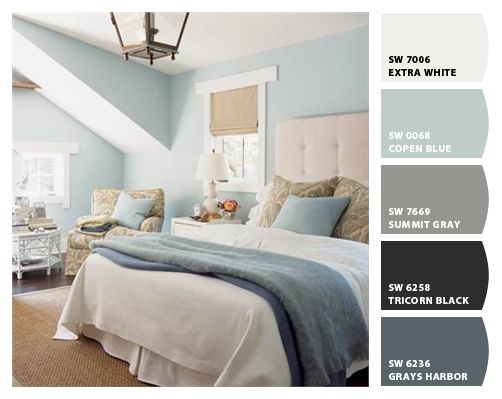
Look how bright and cheery!
In my previous blog post, I had scraped the popcorn ceilings and painted them white. Since that is out of the way, I am now just focusing on the walls. As a reminder, below is what my wall color was before. It was a nice color but, very shiny and collected dust. Seriously, I was dusting my walls once a week. Who has time to dust their walls?!

The paint I chose was Sherwin-Williams Copen Blue (eggshell). Usually I just go with whatever paint is the cheapest but, this month Sherwin-Williams was having a sale on their expensive paint so, I decided to upgrade and give it a shot. IT WAS AMAZING AND I’M NEVER GOING BACK. It only took one coat to cover this dark navy(ish) and only took my one gallon. With cheap paint, it probably would have taken two gallons. So really, you can save money by paying more for better paint because you will use less- does that make sense?
First, do all your cutting in. Ceiling, corners, and around doors and windows. If you don’t have an edging tool, stop everything you’re doing and buy one of these- Shur-Line Pro Paint Edger. It will change your life. It only costs about $5 and eliminates all need for painting tape. In addition, it only takes me about 30 minutes to edge a room instead of an hour.

Get this now!!
After, my edging was done, I used a roller to cover the rest. Once the room was all painted, I decided my ceiling fan did not fit in. I didn’t have a lot of confidence with taking my fan completely down (wires? electricity? No thank you) and I did not want to spray paint it because there are small holes/gaps in the fan and I thought it might ruin it. Instead, I just spray painted the fan blades white and replaced the bulbs.

BEFORE: fan blades – yuck

BEFORE: frosted bulbs

AFTER- painted fan blades + new bulbs = easy update

Top image: wall color before — Bottom image: wall color after
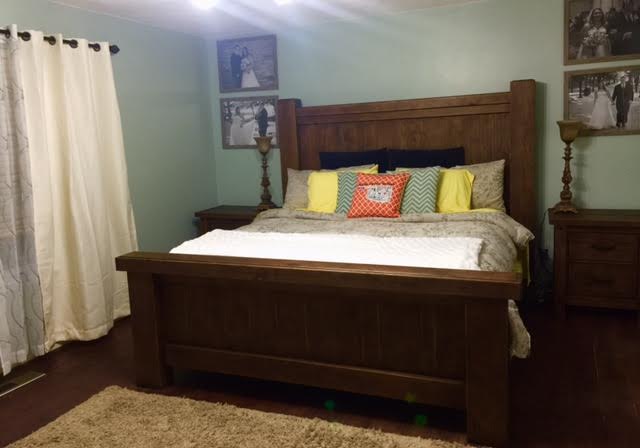
FINISHED ROOM!!

Recent Comments